API access configuration within InfluxDB Cloud
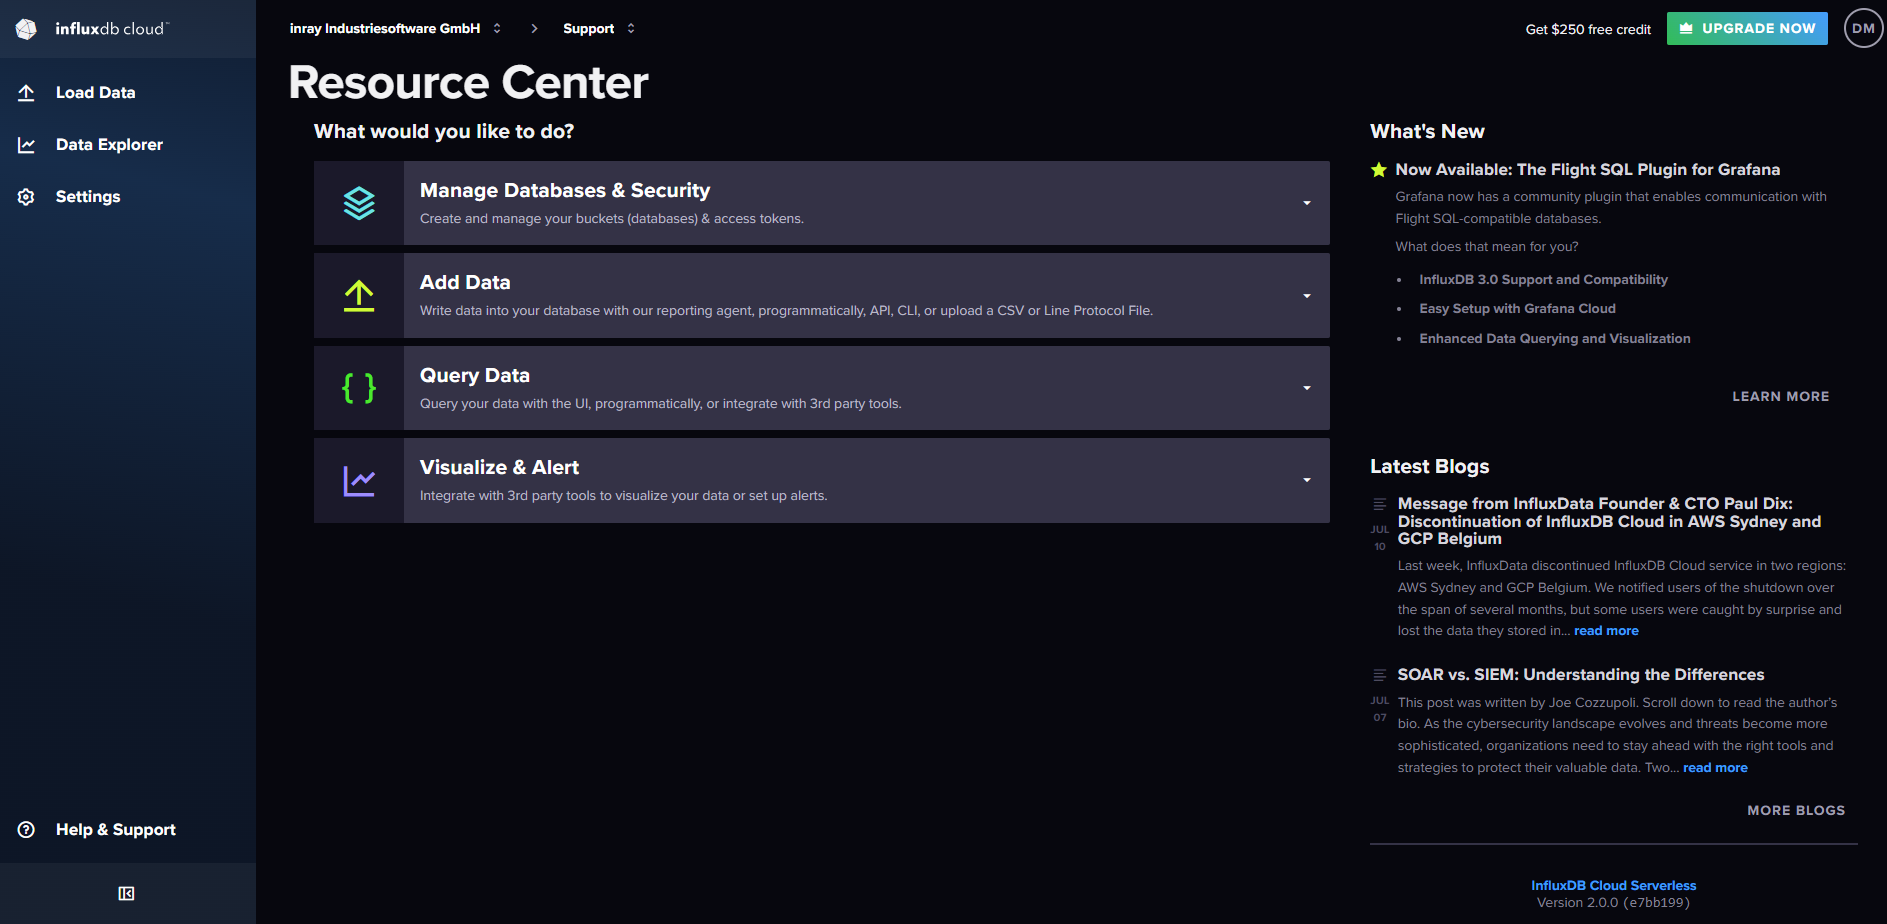
1. Login to InfluxDB Cloud.
2. Copy the browser URL from InfluxDB Cloud. It will be needed in a later step
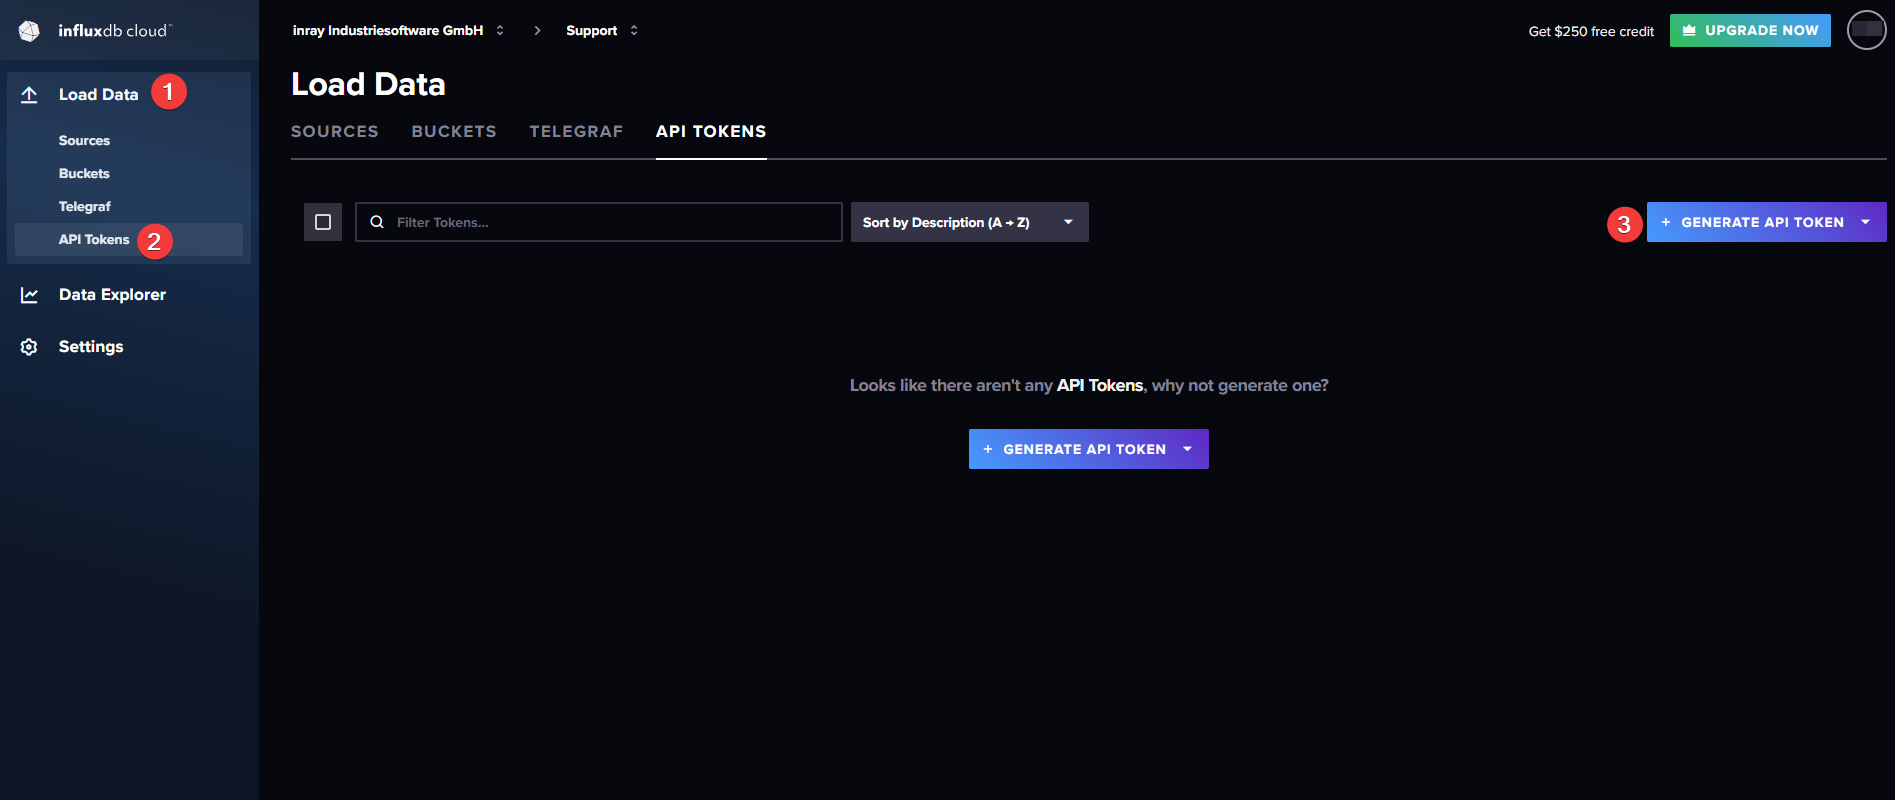
3. On the left sidebar menu, click on "Load Data“ (1) and select "API Tokens“ (2). Click on the button "Generate API Token“ (3) and enter a description for the token.
4. Copy the displayed API Token. Make sure you save it because you won’t be able to access it at a later point.
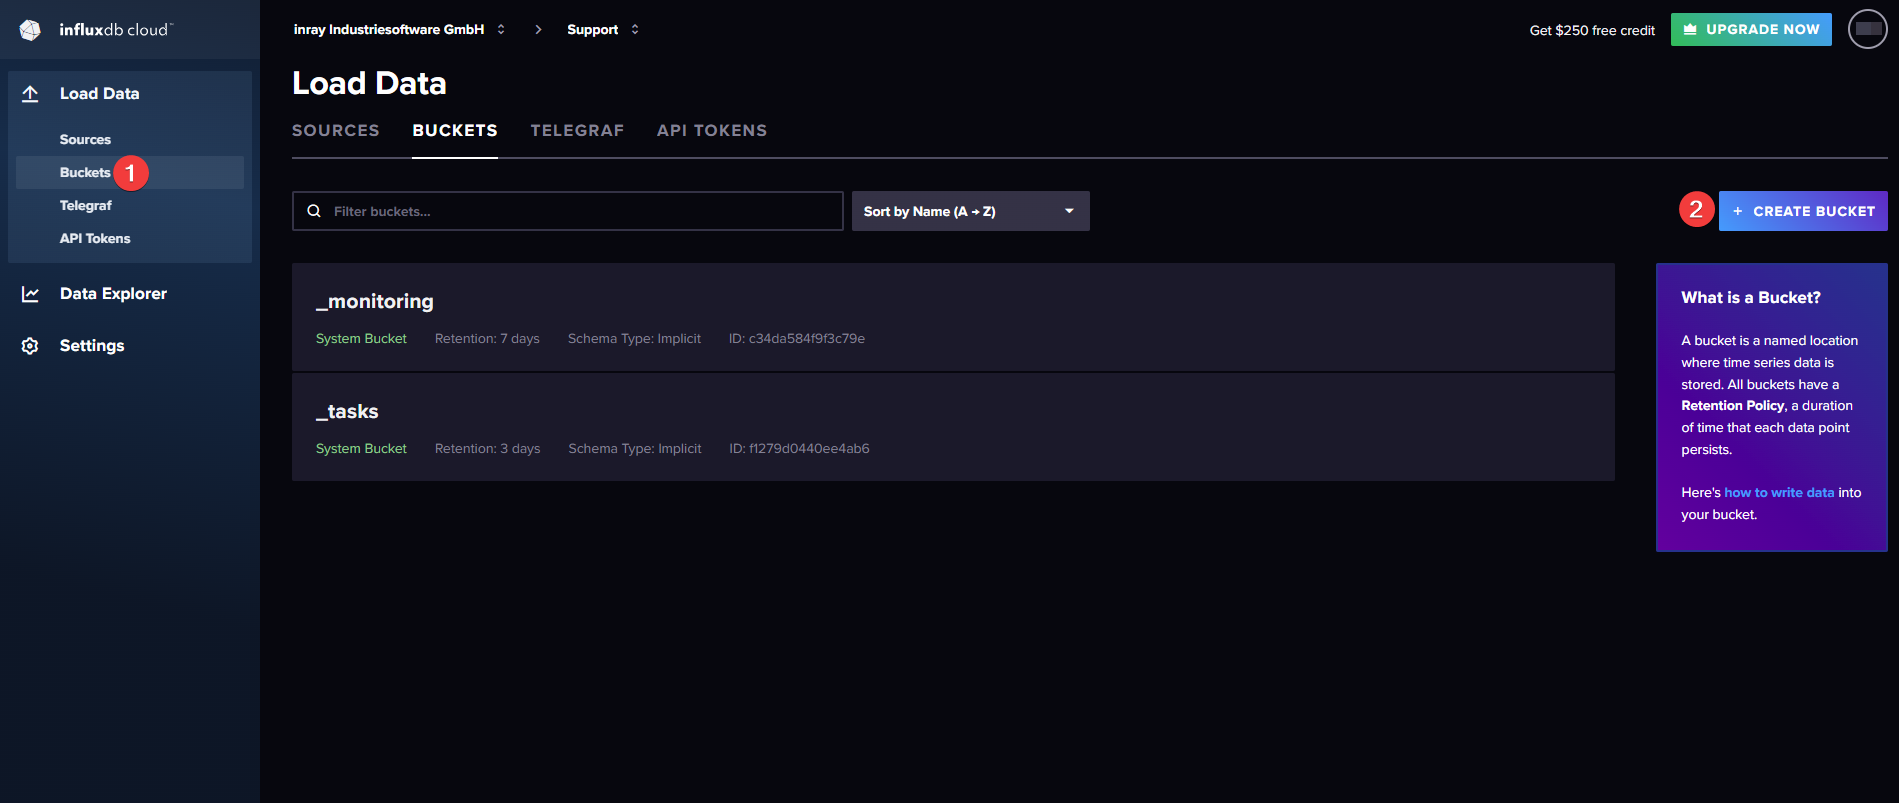
5. Under "Load Data“ in the left menu bar, select "Buckets“ (1) and create a new Bucket by clicking on the "Create Bucket“ button (2). The name of the new Bucket will also be needed in a later step.
Configuring the data connection with the OPC Router
In order to transfer data to InfluxDB Cloud we will use the OPC Router’s InfluxDB 2.0/3.0 & Cloud Plug-in. To complete the following steps, you will need the API Token you copied previously, as well as the browser URL shown in InfluxDB Cloud.
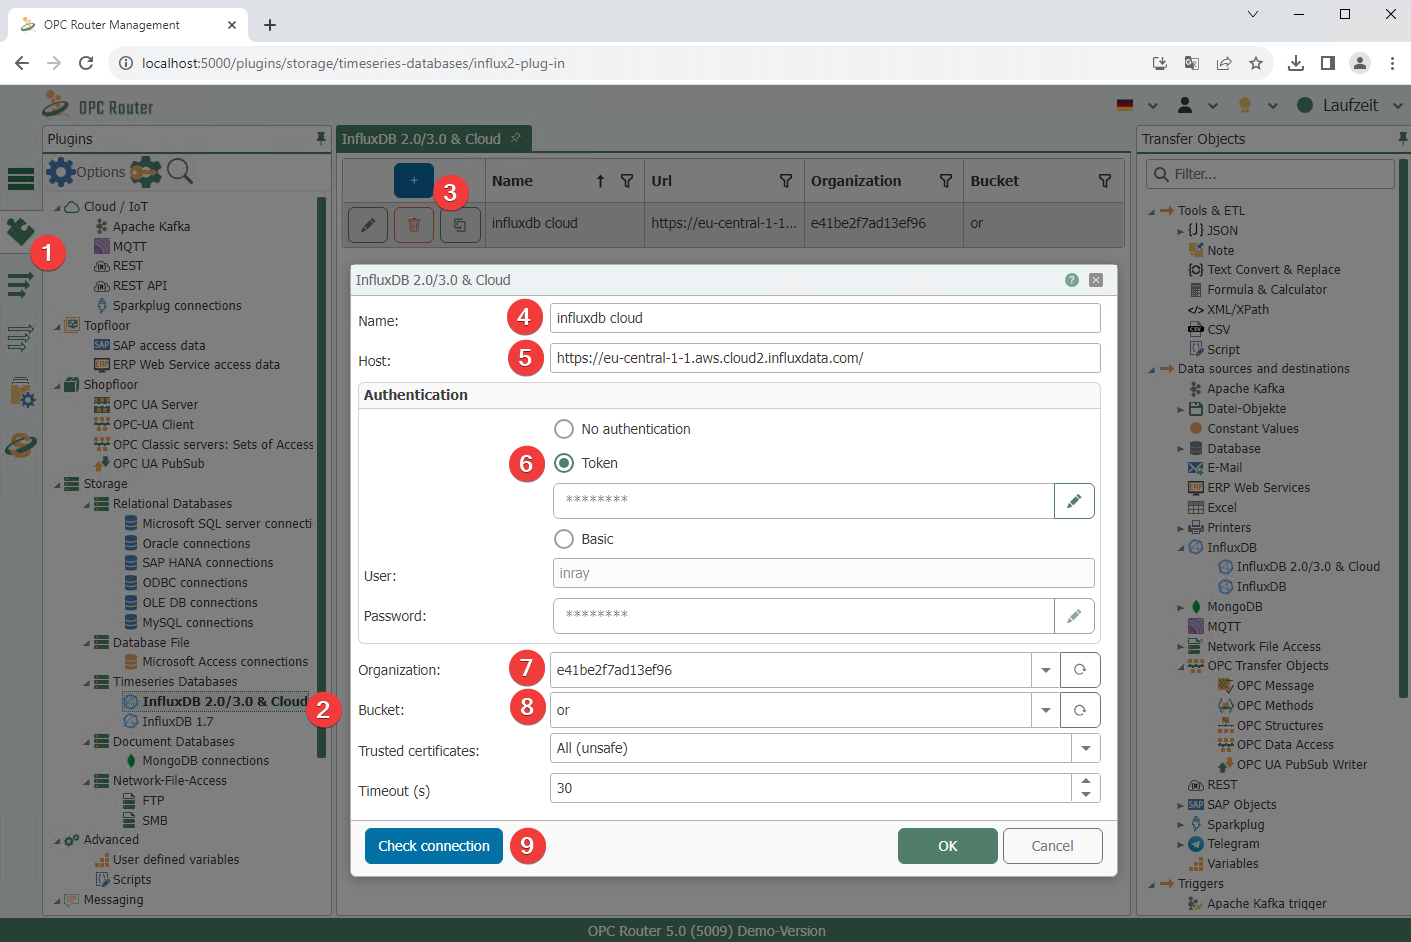
1. Click on the Plug-in symbol at the top of the left sidebar (1) and select the Plug-in "InfluxDB 2.0/3.0 & Cloud“. Click on the plus symbol to add the Plug-in (3) and fill in the fields as described below:
-
(4) A name of your choice
-
(5) The first part of the copied browser URL, in this example: https://eu-central-1-1.aws.cloud2.influxdata.com
-
(6) The copied API Token
-
(7) The last part of the copied browser URL (after /orgs/), in this example: e41be2f7ad13ef96
-
(8) The name of the Bucket you created
2. Click on the "Check connection“ button to confirm your configuration.
3. Drag and drop an InfluxDB 2.0/3.0 & Cloud Transfer Object into the middle area.
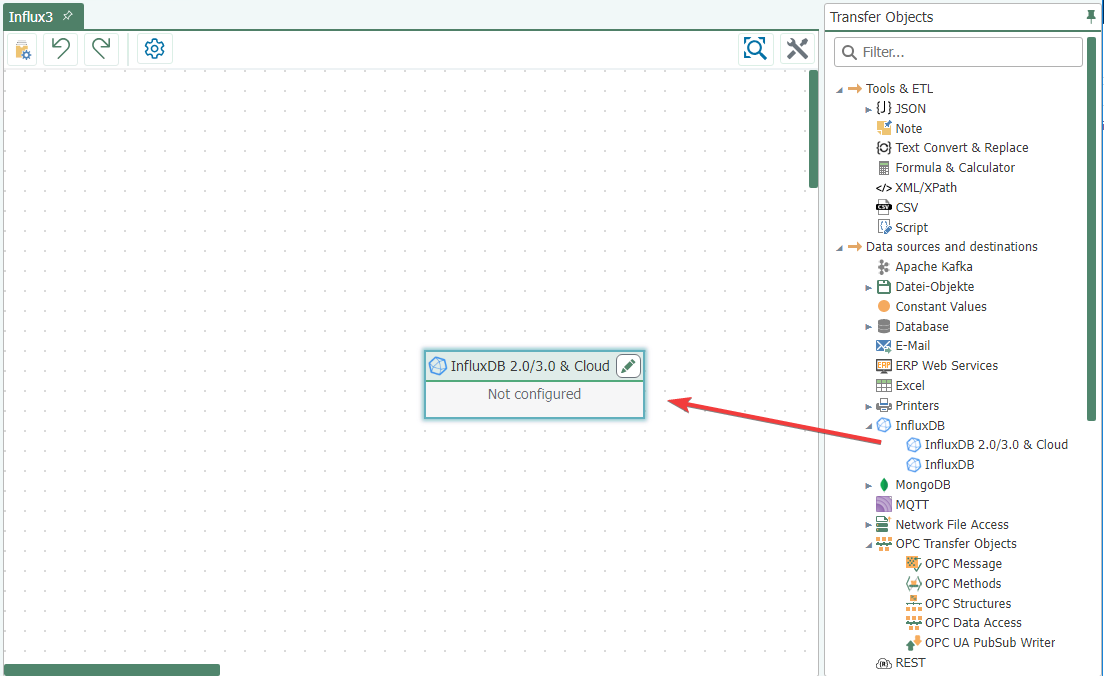
4. Double-click on the newly created Transfer Object to open the configuration window.
-
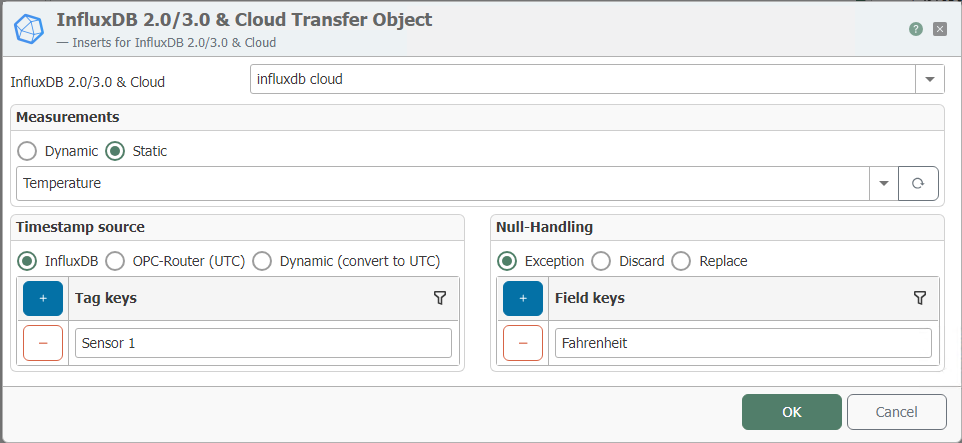
At the very top, select the name of the previously configured InfluxDB 2.0/3.0 & Cloud Plug-in
-
Define a measurement series. Specify the Field Keys (the fields in which the values are to be written) and the Tag Keys that are to be assigned to the written values, which will serve as filters in InfluxDB Cloud.
5. Connect the Transfer Object to your data source(s) of choice. Use the Transfer Object "Constants“ to designate the tags for your data.
An example of a data source would be an OPC Server, in which case you would use the Transfer Object "OPC Data Access“.
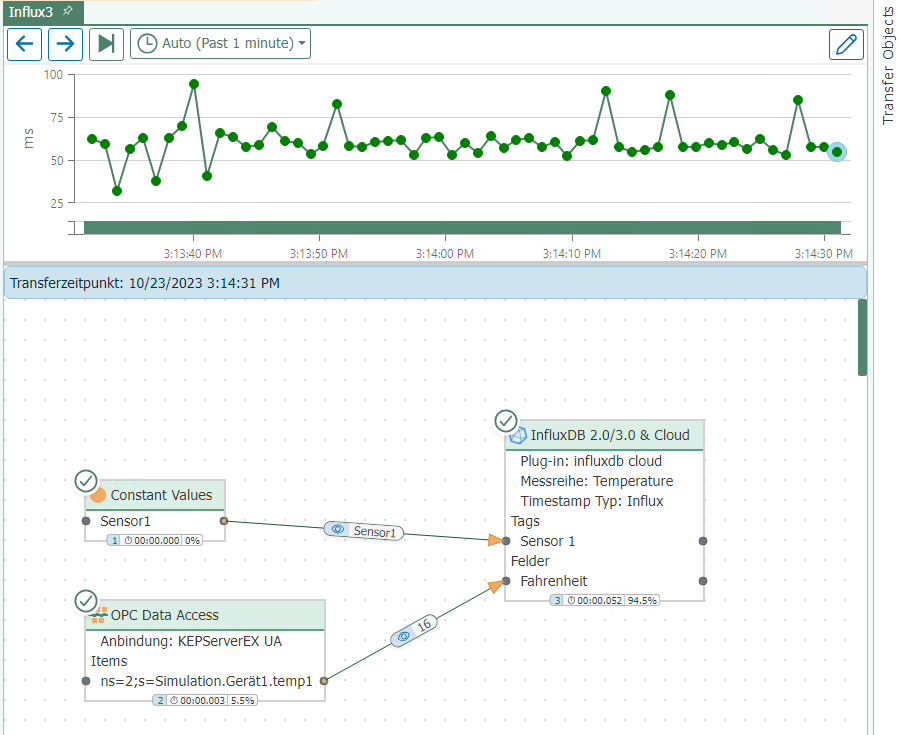
The following screenshot shows a simple example configuration:
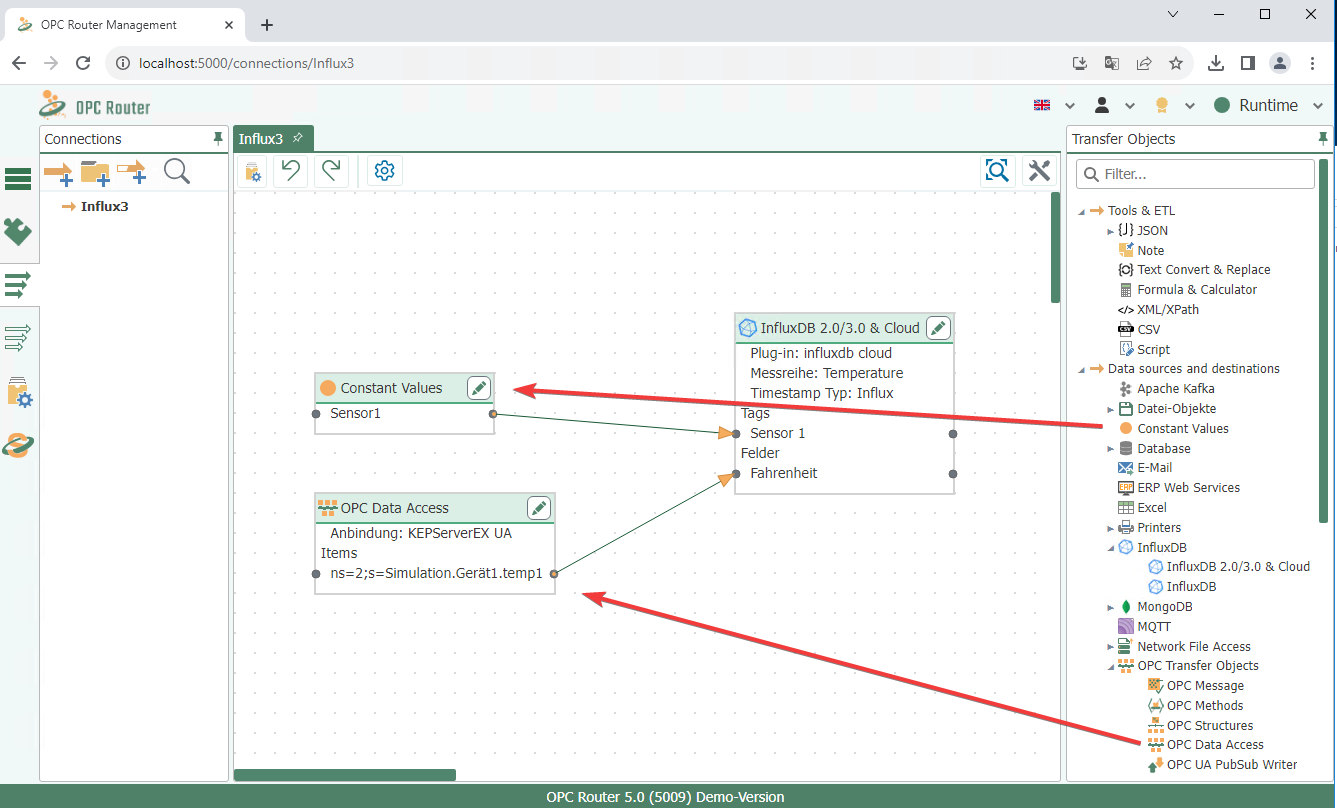
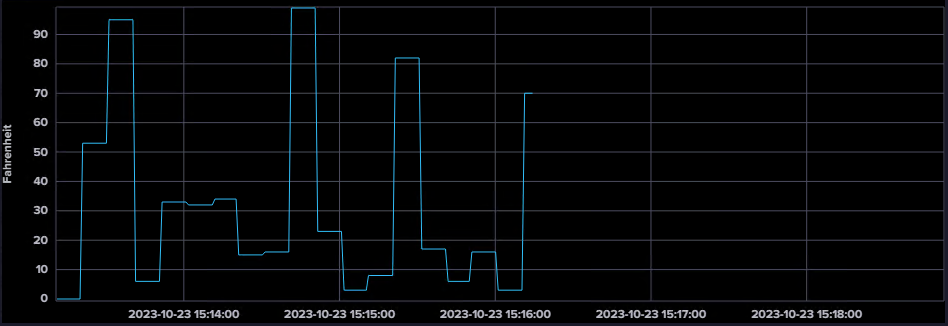
The following screenshots show an example of an InfluxDB Cloud connection within the OPC Router, as well as a data visualization in InfluxDB Cloud: