![SWTB_logo_rgb_color_mode-wPadding-2000x961.png]](https://help.softwaretoolbox.com/hs-fs/hubfs/SWTB_General/Images/Press_Kit/SWTB_logo_rgb_color_mode-wPadding-2000x961.png?height=50&name=SWTB_logo_rgb_color_mode-wPadding-2000x961.png)
This guide walks through the standard Cogent DataHub installation wizard on Windows, step by step, and answers the questions most commonly asked during setup. Installation itself is straightforward and doesn't require support involvement, if you get stuck on a screen, check the matching step below before opening a ticket. It reflects a default installation using the current Windows installer package; screens may vary slightly by version.
Note that until a license is applied, DataHub will be in a 1-hour demo period.
Before You Begin
- Close other applications before running Setup. The installer can update shared system files without a reboot if nothing else is using them.
- Confirm you have local administrator rights on the machine. The installer writes to Program Files and registers Windows services.
- Confirm that your machine meets the DataHub System Requirements
Installation Walkthrough
Step 1: Start Setup
Run the Cogent DataHub installer. The Welcome screen confirms Setup will guide you through installation and recommends closing other applications first. Click Next to continue.
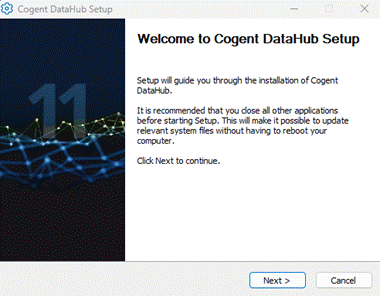
Welcome screen — click Next to begin.
Step 2: Accept the License AgreementReview the End-User License Agreement (EULA). You must click I Agree to proceed; clicking Cancel exits Setup without installing.
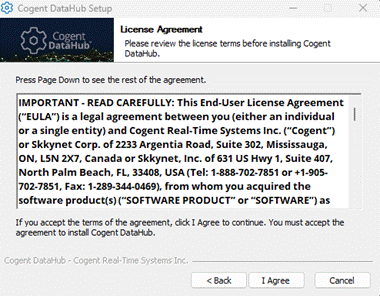
License Agreement screen — click I Agree to continue.
Step 3: Choose the Install LocationBy default, Cogent DataHub installs to C:\Program Files (x86)\Cogent. To install elsewhere, click Browse and select a different destination folder before clicking Next. The screen also shows space required versus space available on the target drive, so you can confirm there's room before proceeding.
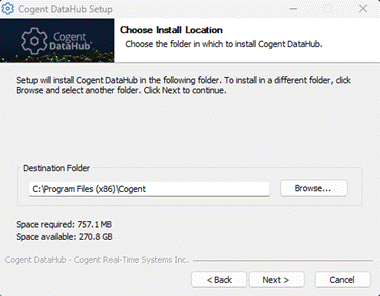
Choose Install Location — default path shown, with space required and available.
Step 4: Choose ComponentsSelect which DataHub features to install: Data Simulators, Data Transmission, Data Manipulation, Data Visualization, Remote Configuration, Data Storage, Elfinder Web File Browser, and Device Drivers. All components are checked by default. Unless you know a specific feature isn't needed on this machine, leave the defaults checked — it's easier to have a component installed and unused than to reinstall later because something was missing.
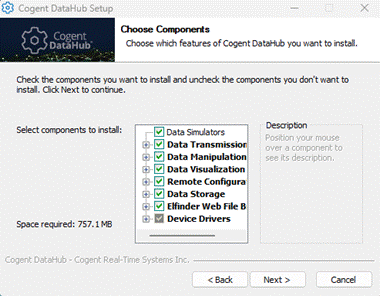
Choose Components — all components selected by default.
Step 5: Choose the Start Menu FolderPick the Start Menu folder where DataHub's shortcuts will be created, or accept the default "Cogent DataHub" folder name. Click Install to begin copying files.
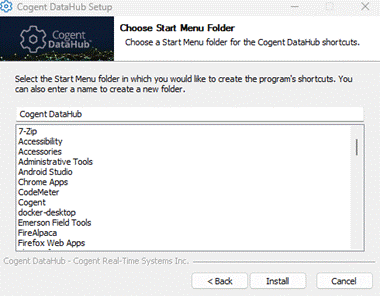
Choose Start Menu Folder — click Install to proceed.
Step 6: Installation RunsSetup copies files and configures the application. Installation time depends on the components selected and the machine's disk speed.
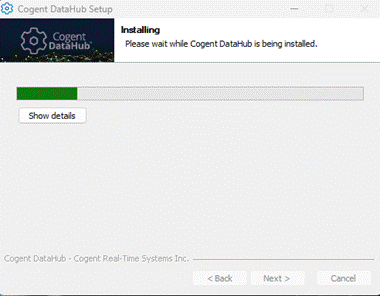
Installing — progress bar advances as files are copied.
Step 7: Installation CompleteOnce file copying finishes, Setup confirms the installation completed successfully.
Click Show details if you want to review the installation log, otherwise click Next.
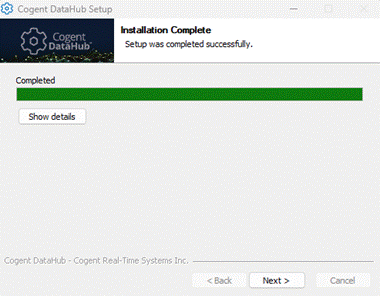
Installation Complete — click Next to continue.
Step 8: Finish SetupThe final screen confirms Cogent DataHub has been installed. Click Finish to close Setup.
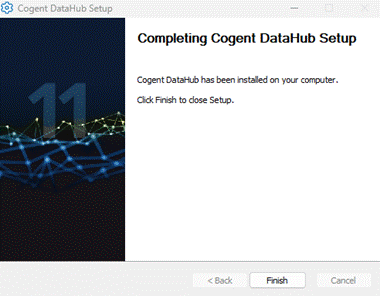
Completing Cogent DataHub Setup — click Finish to close the installer.